On this page
Upload files
The Files service is an effective tool that allows you to manage and organize your documents smoothly. You can upload your files to the Files service following three steps.
Step 1: File selection
You can start uploading your files to the Files service in two ways:
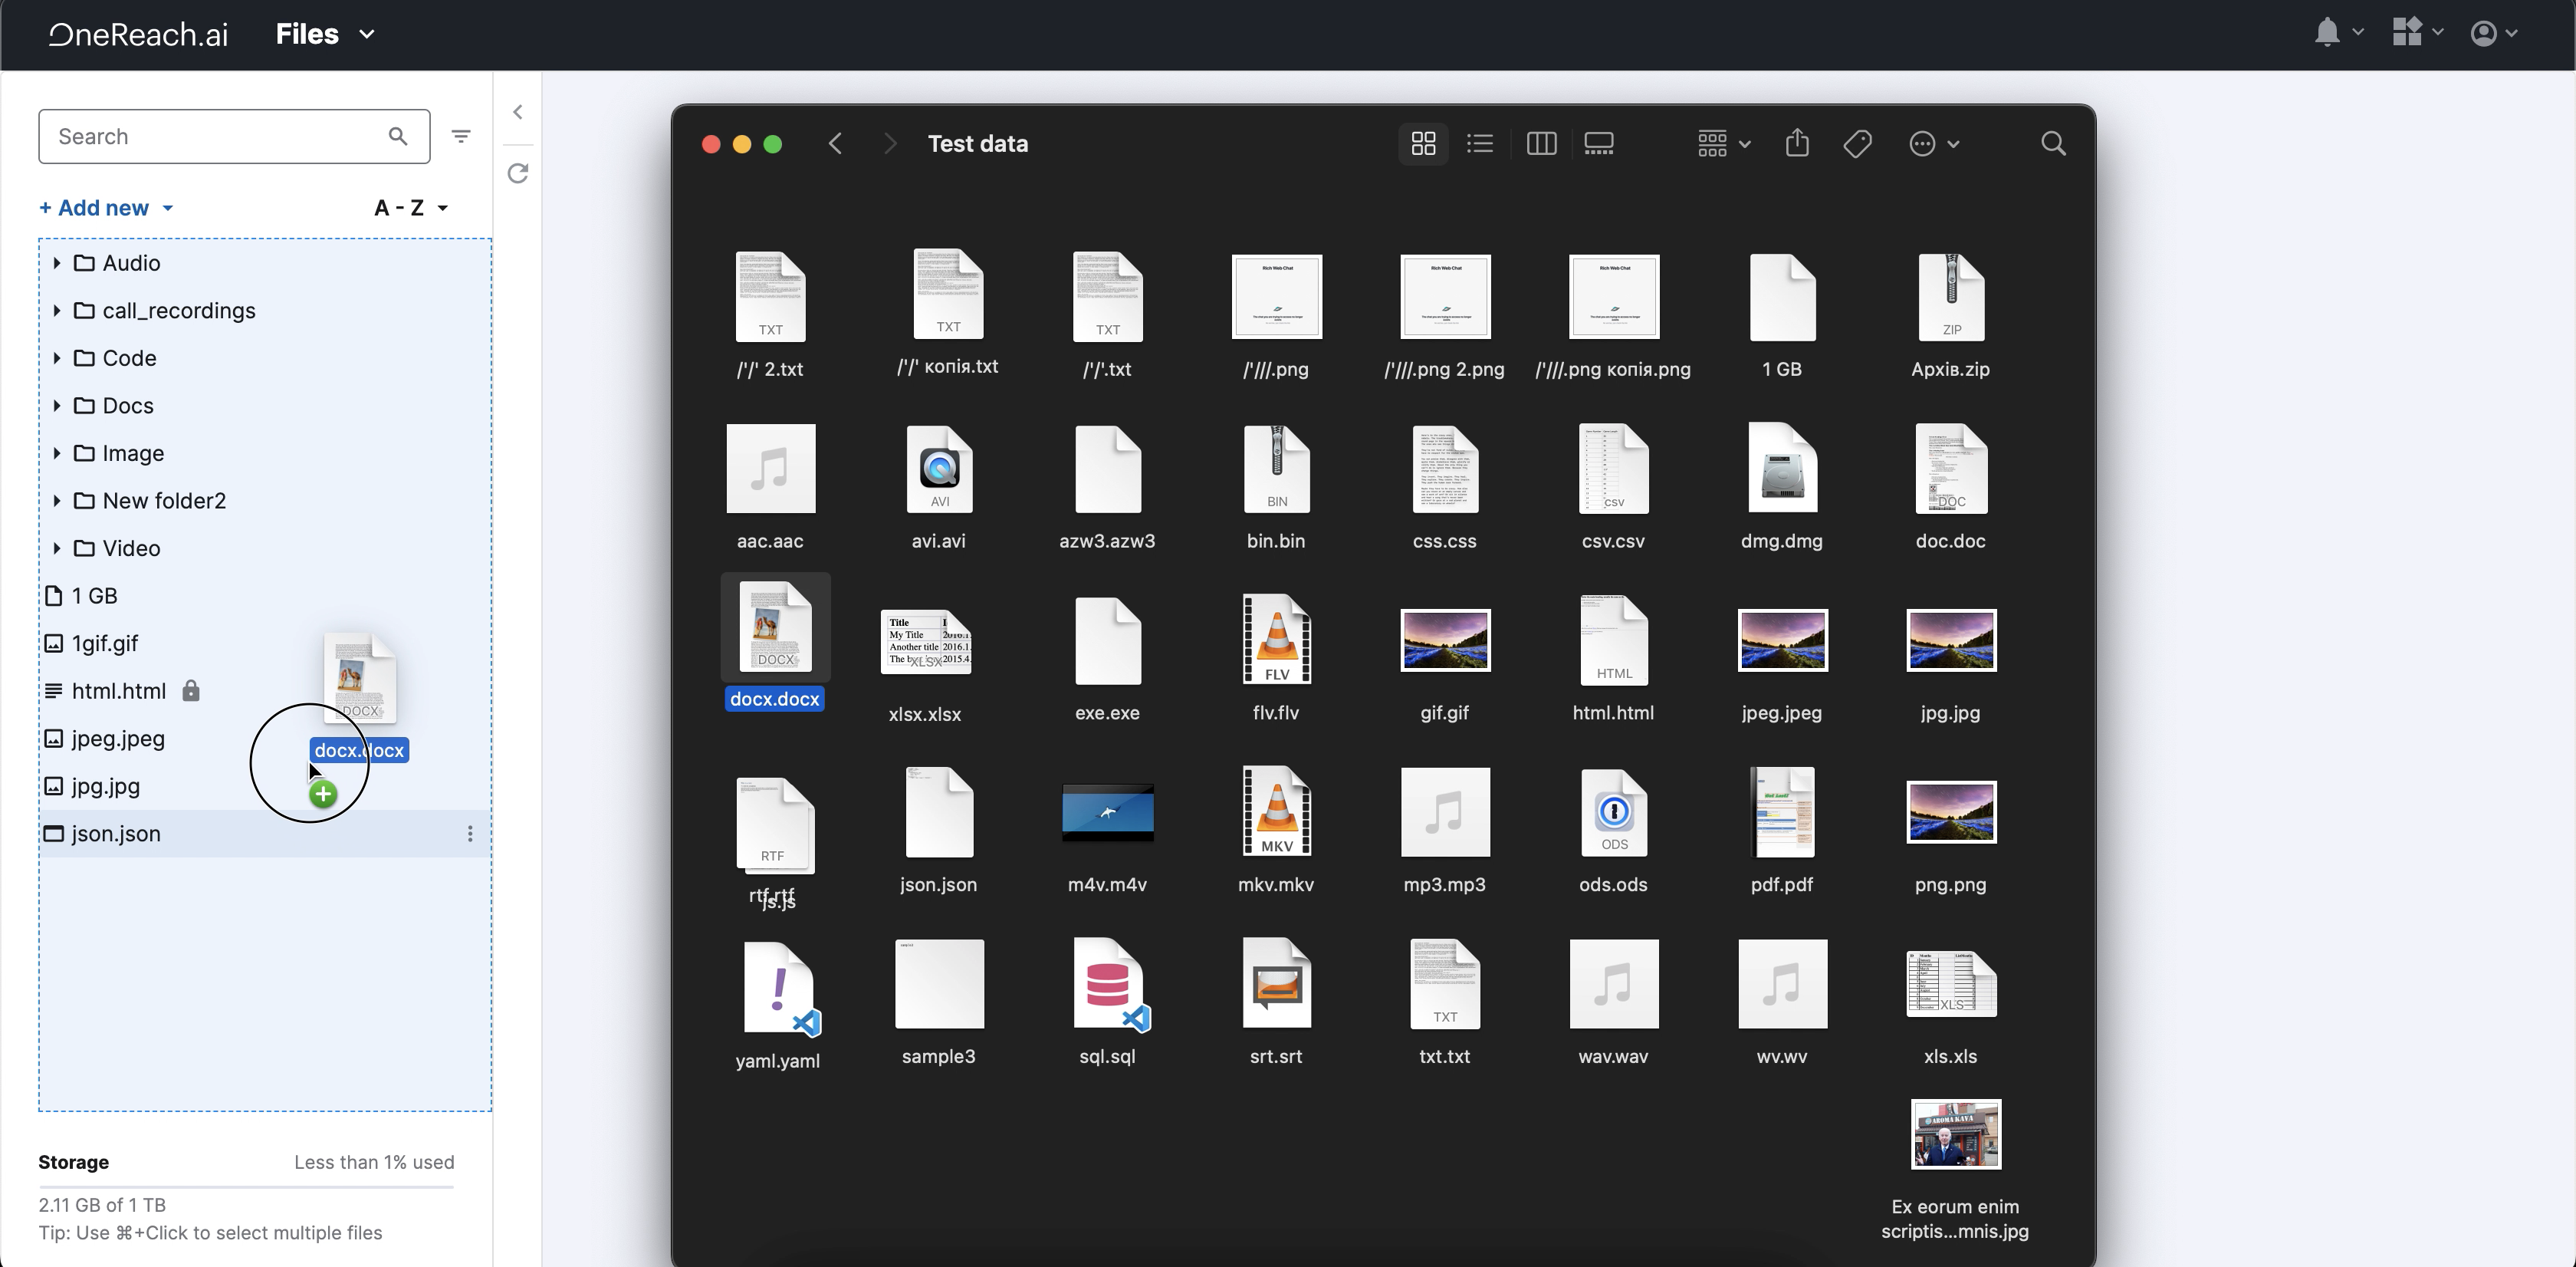
1. Drag-and-drop
The drag-and-drop functionality lets you easily upload files directly from your computer to the Files service. Select the required file or document from your computer and drag it into the file manager.
2. Upload from computer:
If your documents are organized in a specific folder on your computer, you can also upload them to Files. Here are three options to do this:
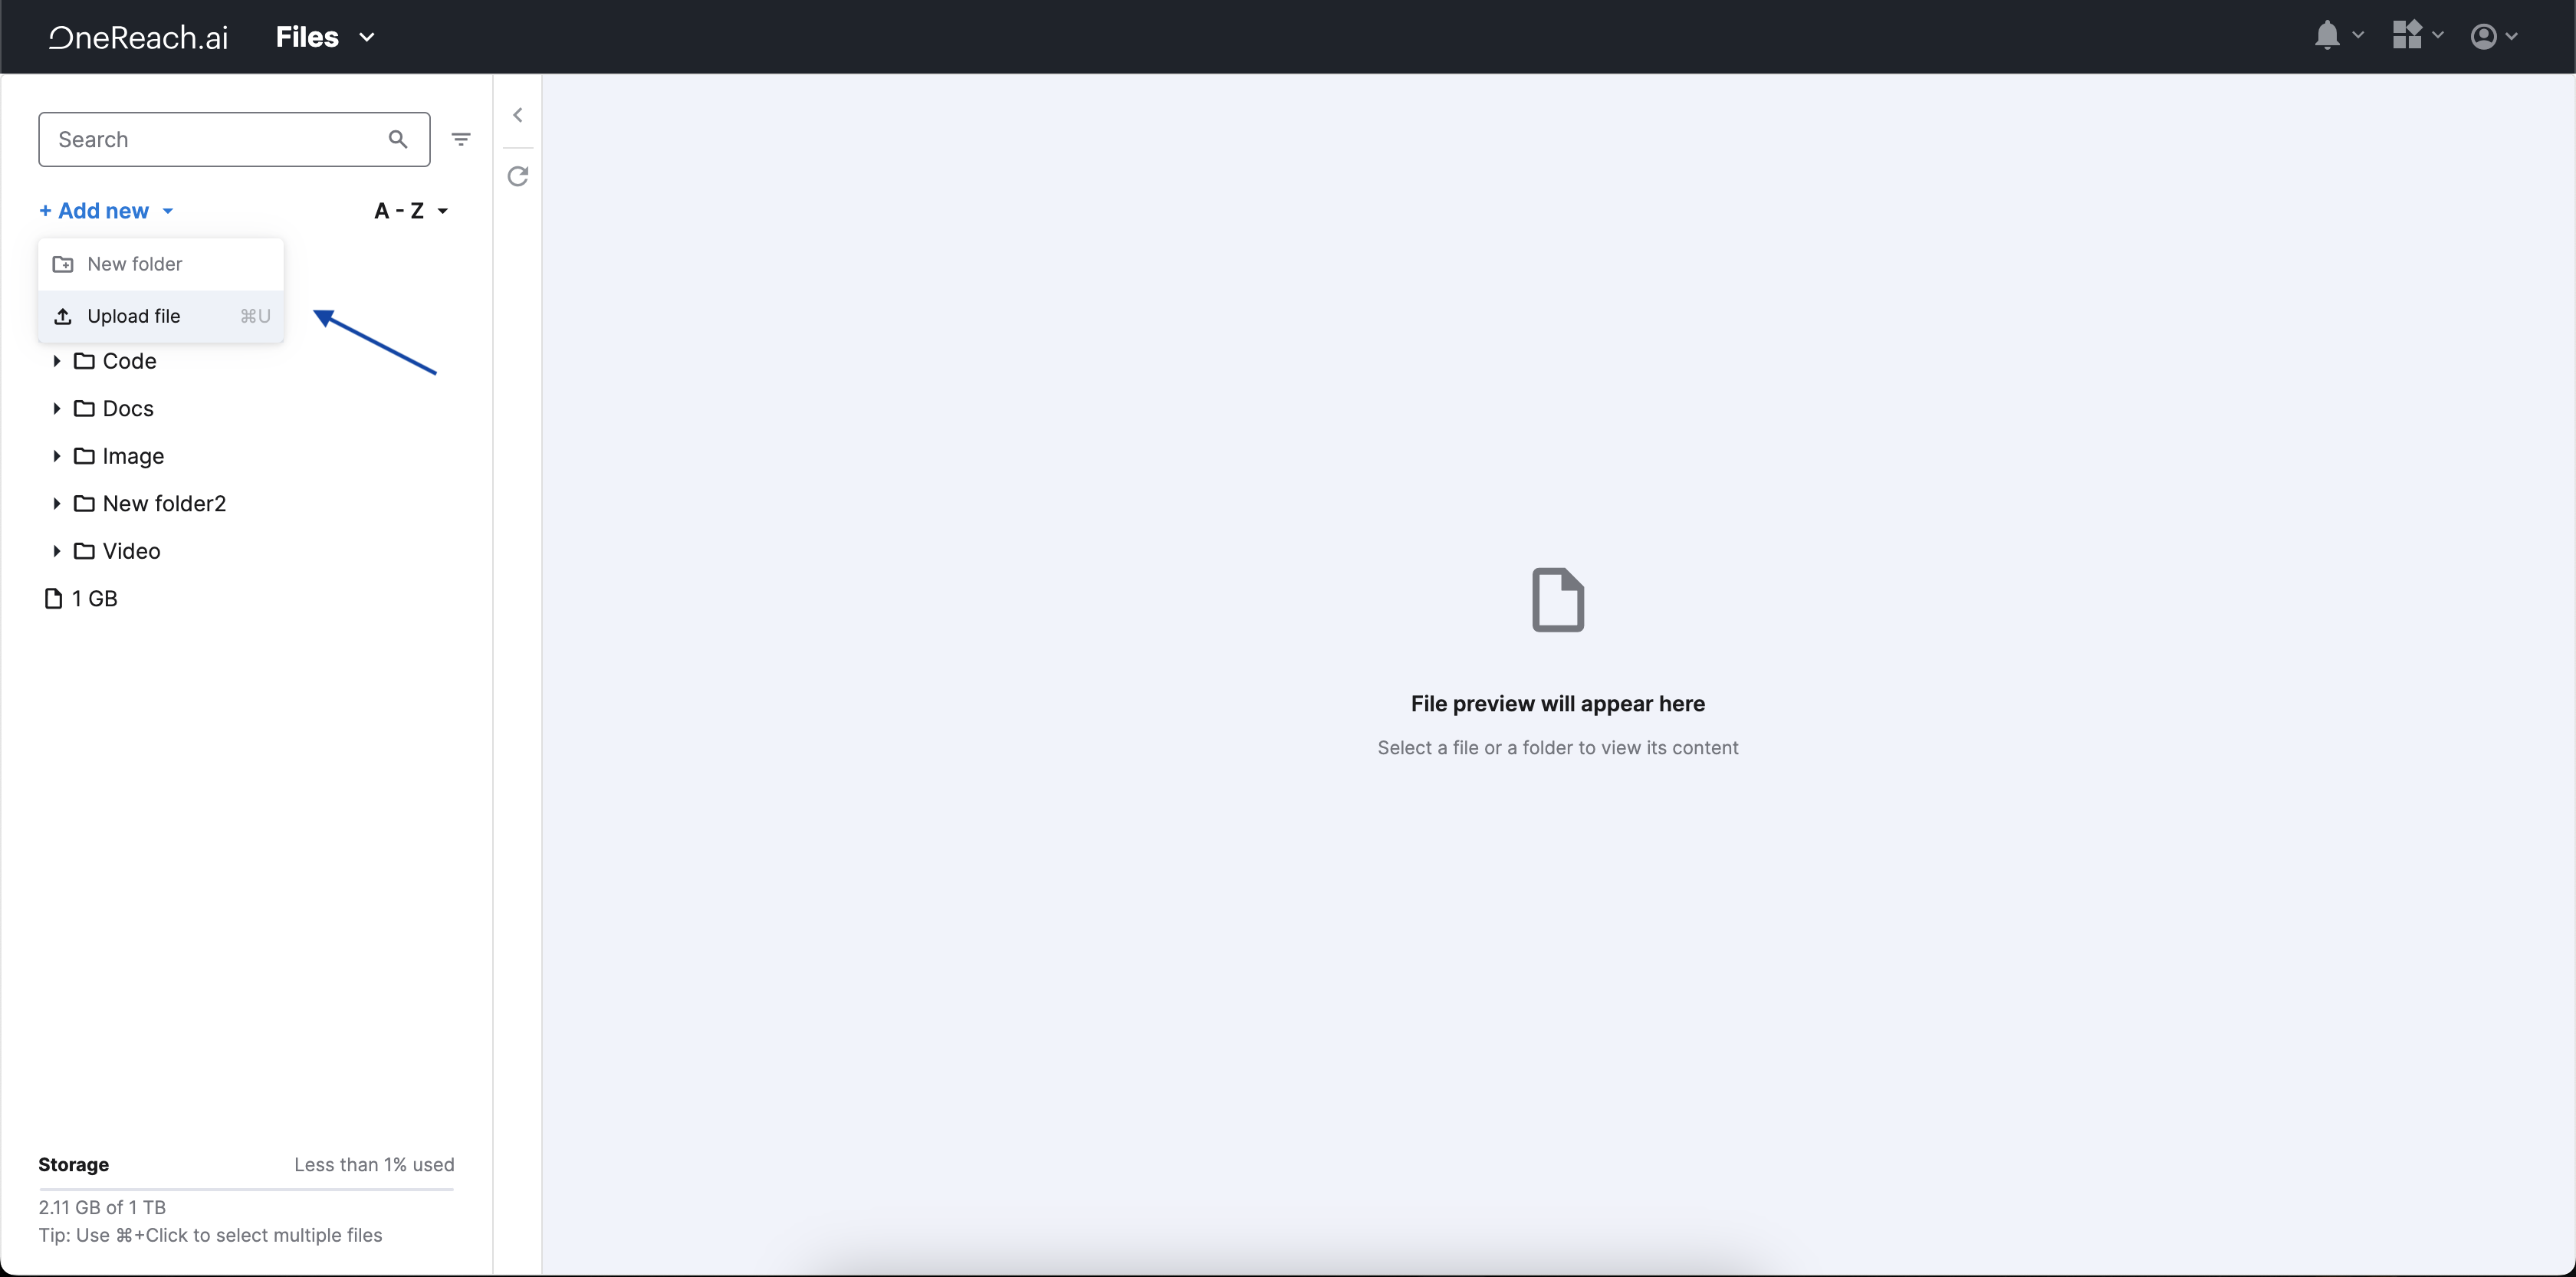
Option 1:
- Click + Add new at the top of the sidebar.
- Select Upload file. An upload window opens, allowing you to navigate to the file on your computer.
- Select the file and confirm the upload.
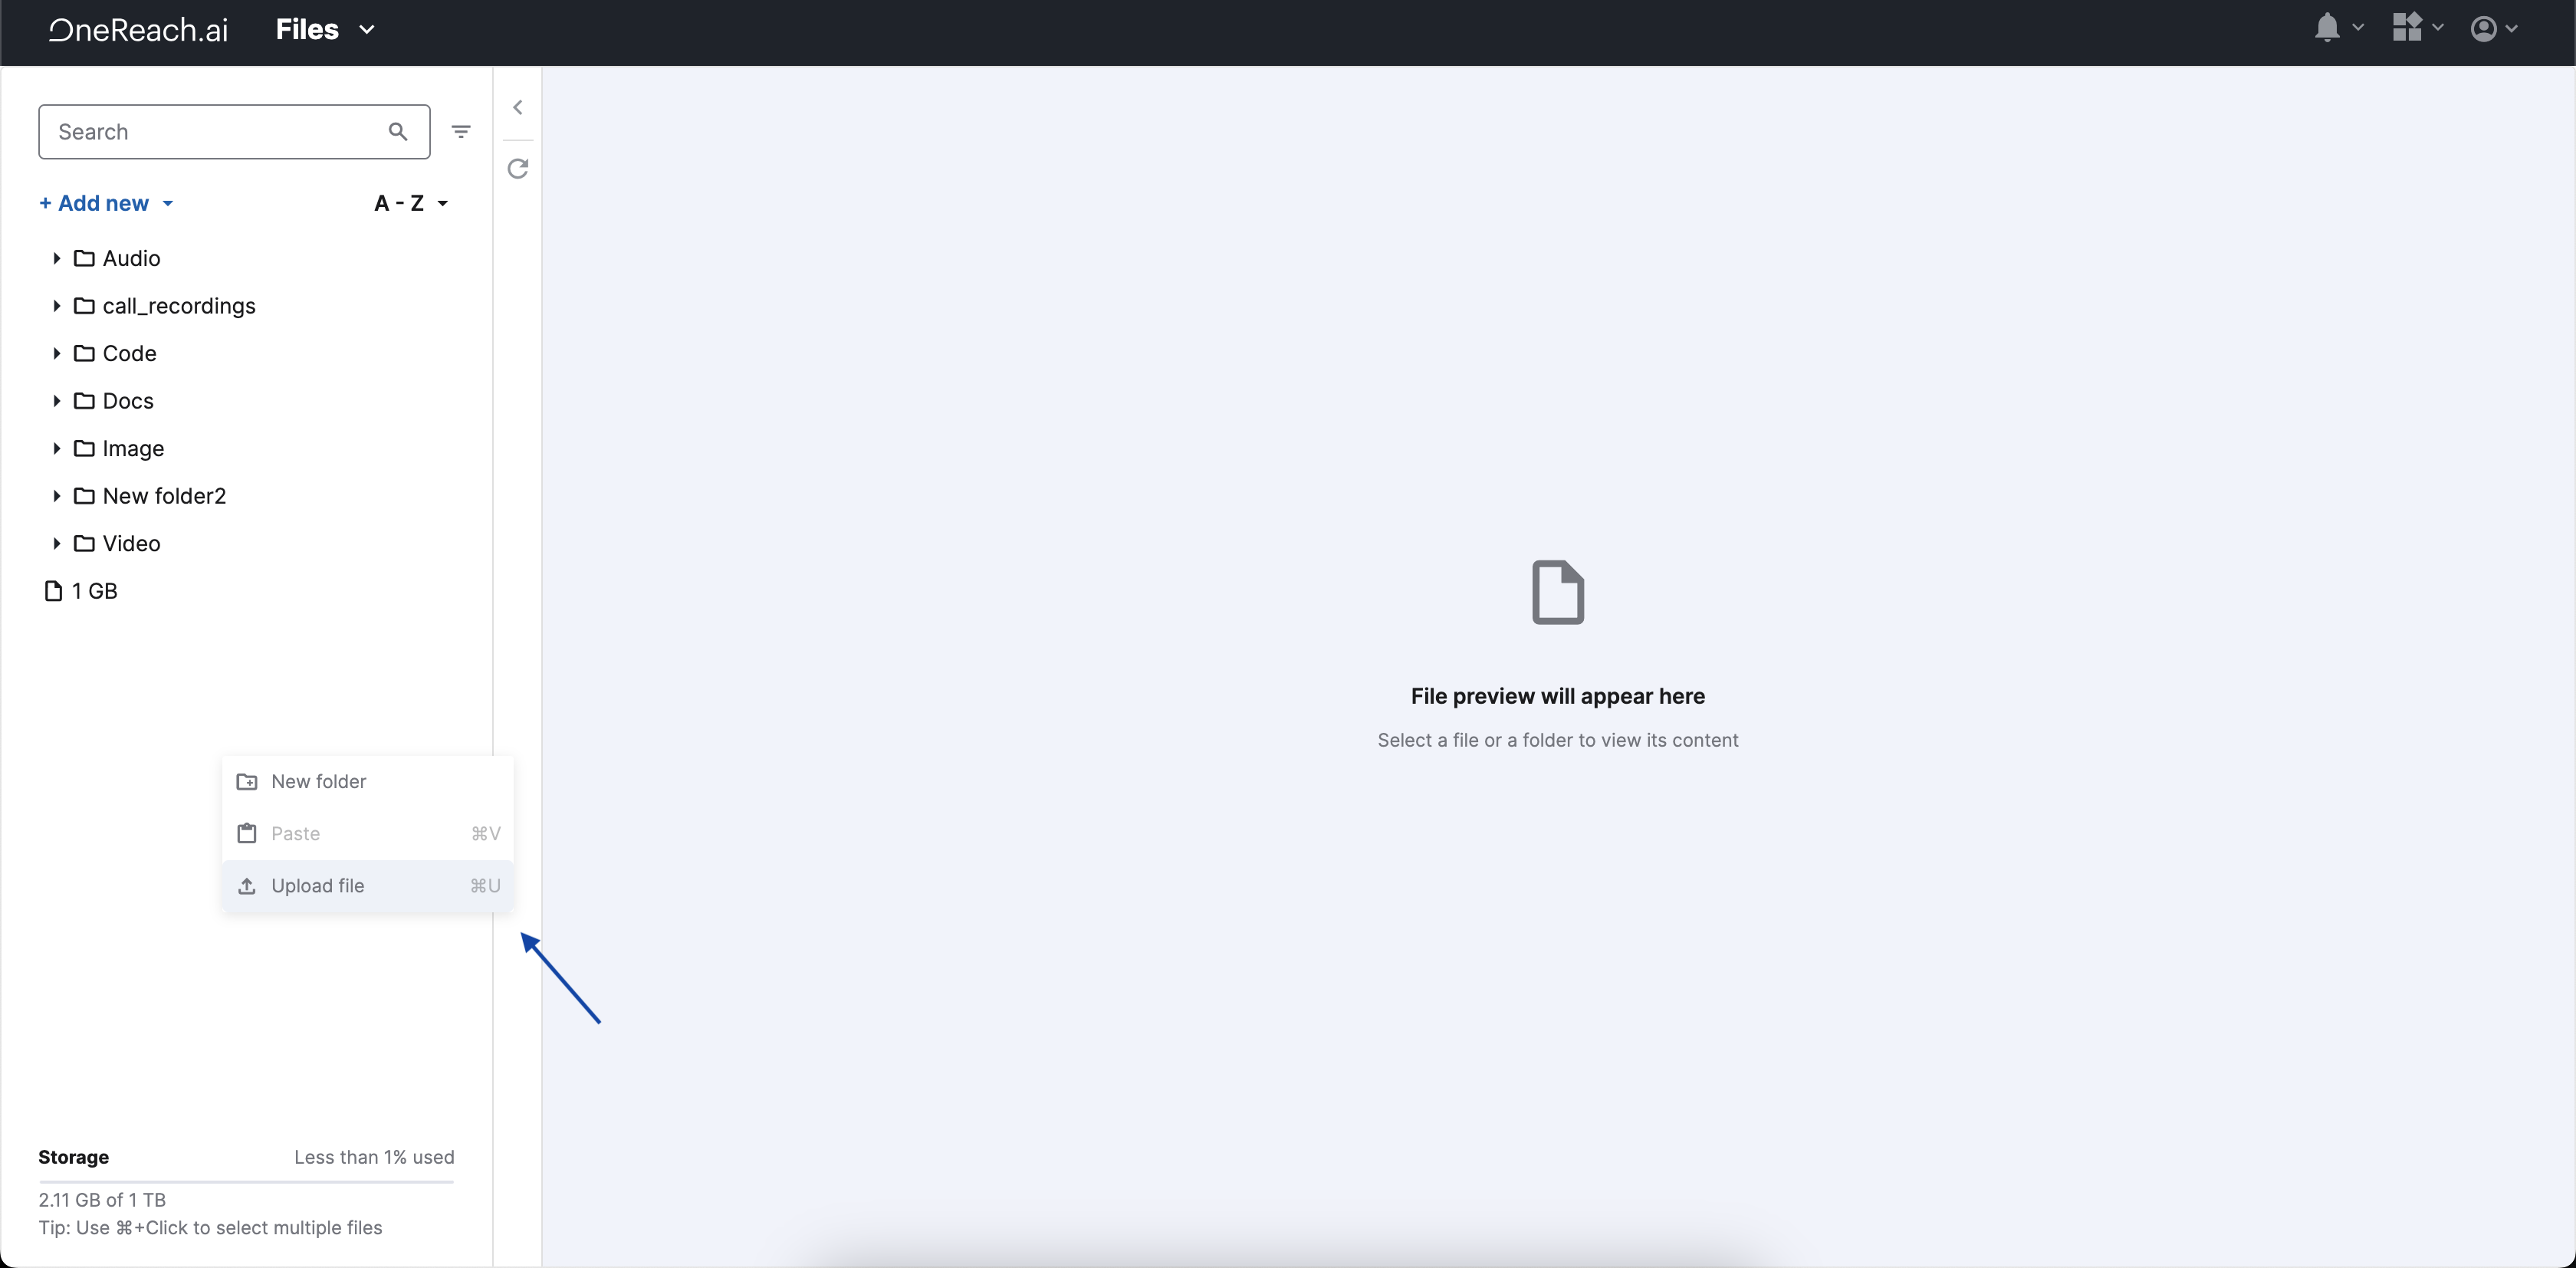
Option 2:
- Right-click on an empty space on the side panel within the Files service.
- Select Upload file from the context menu. An upload window opens, allowing you to navigate to the file on your computer.
- Select the file and confirm the upload.
Option 3:
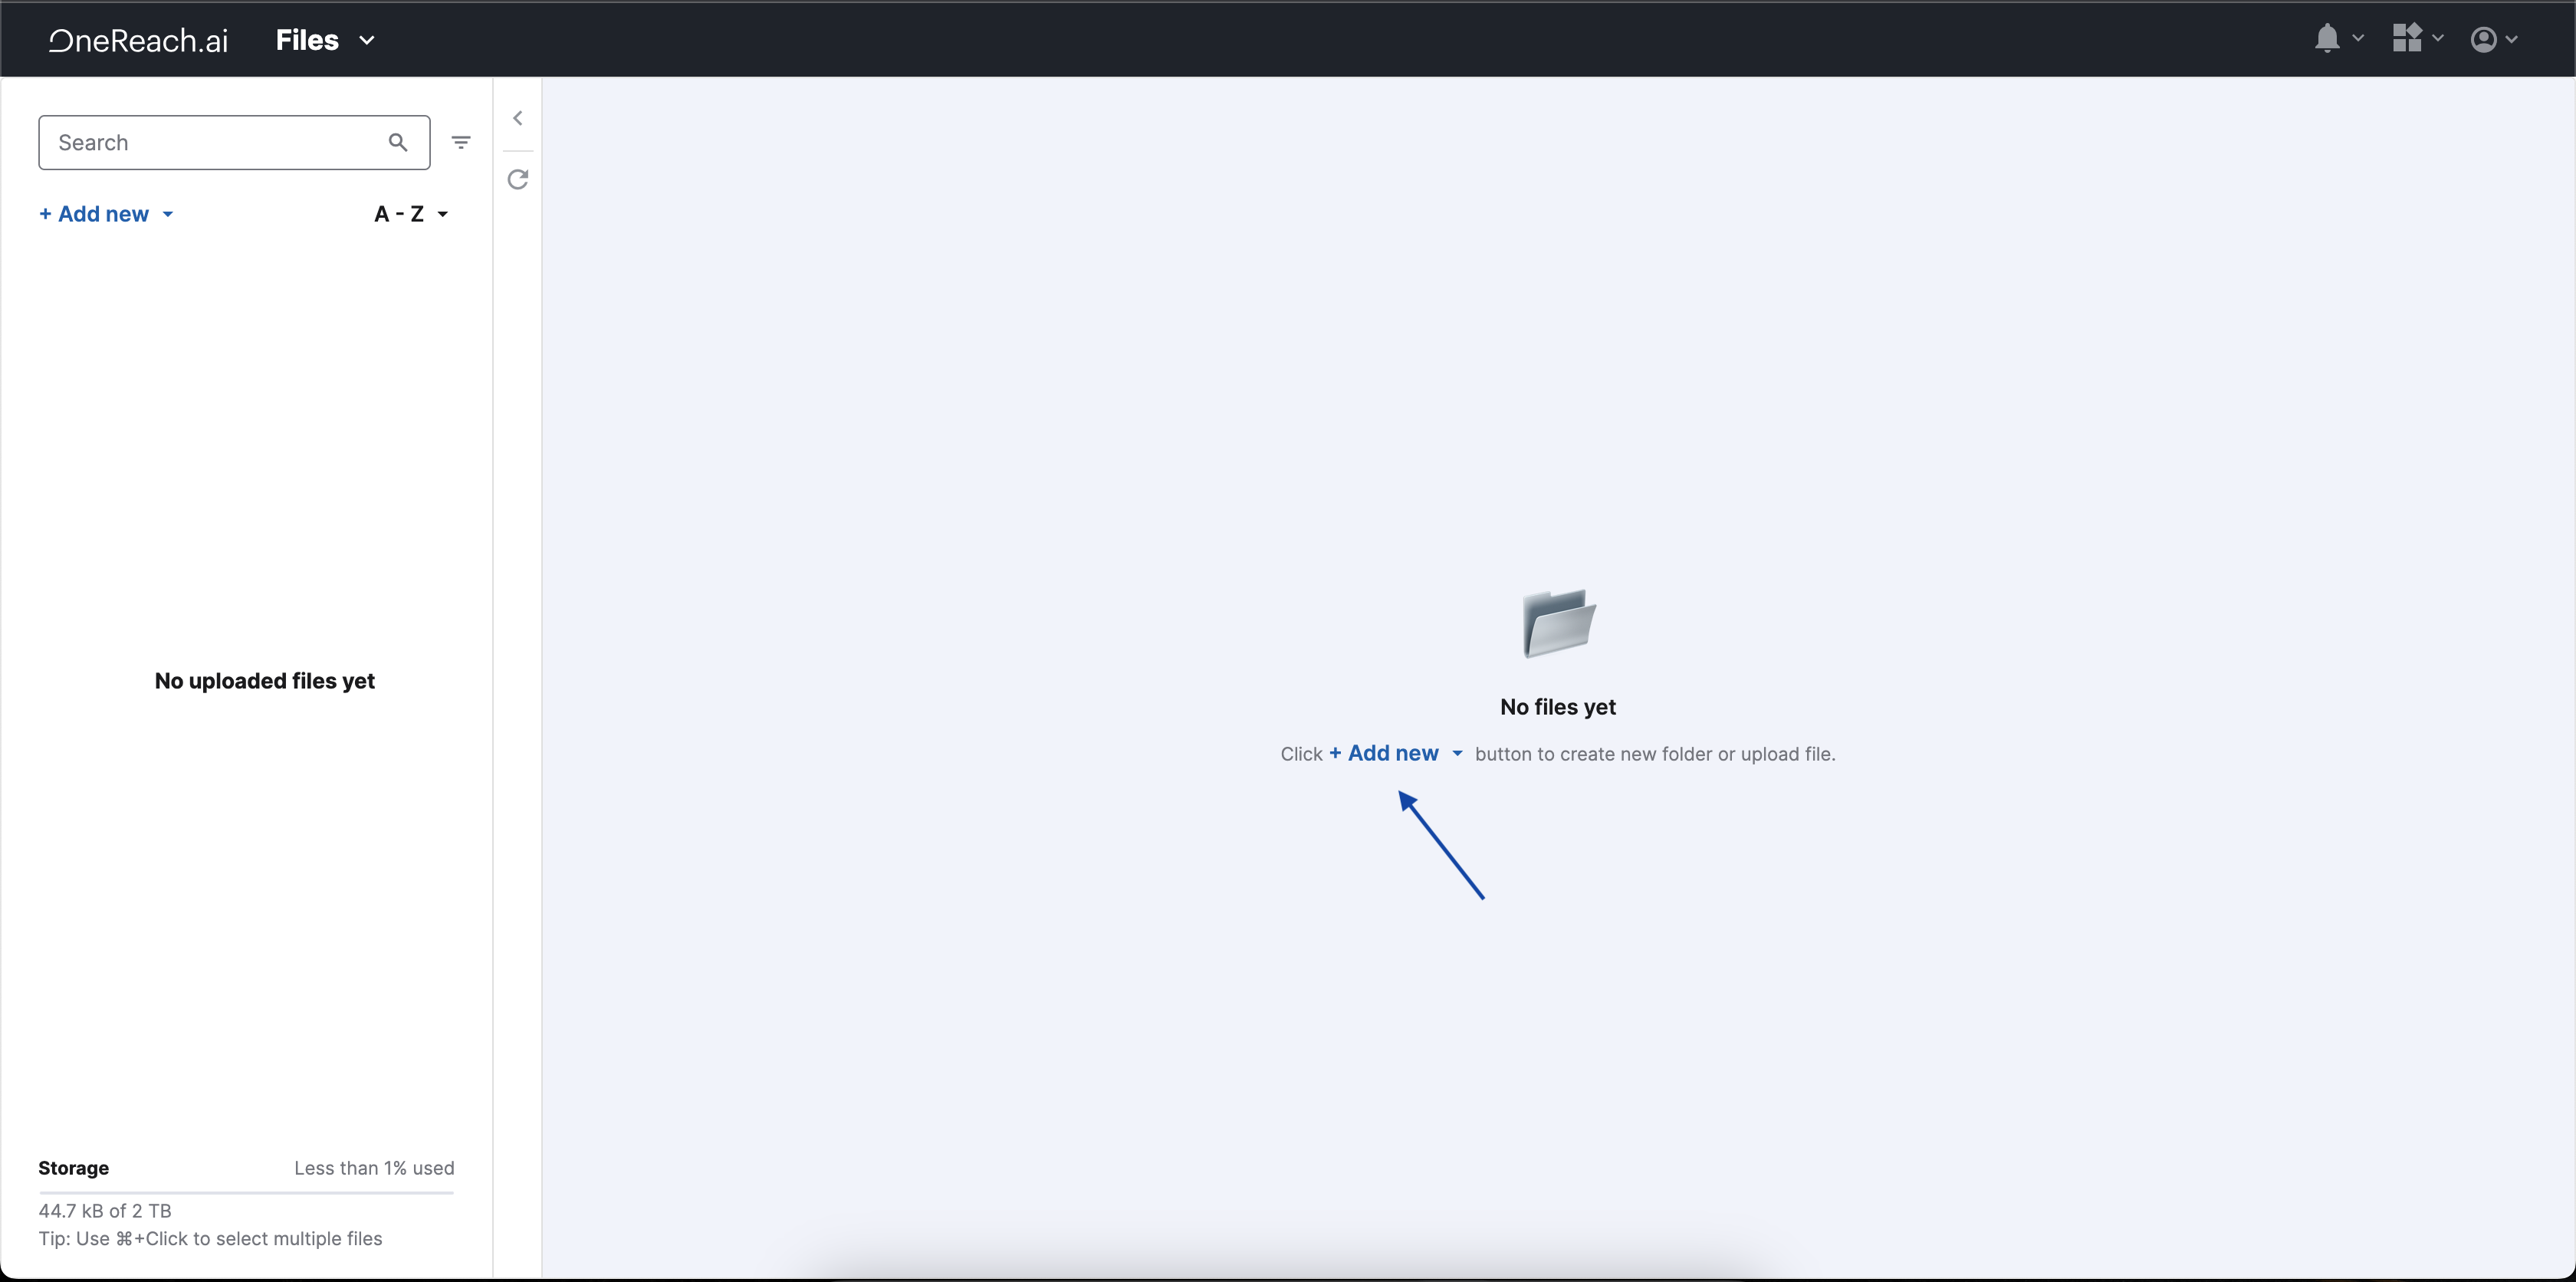
- Click + Add new on the preview screen when you don't have any entities yet.
- Select Upload file. An upload window opens, allowing you to navigate to the file on your computer.
- Select the file and confirm the upload.
Step 2: File processing
The selected files can have invalid names or already exist in the storage.
If the file has an invalid name, a message indicating the specific problem appears. To continue the upload process, you must delete such a file and replace it with a file with a valid name or continue uploading without it.
If the files already exist, you can take the following actions:
- Delete such files and continue uploading
- Replace existing files by clicking Replace existing
- Save existing and new files together by clicking Keep existing. In this case, new files will be uploaded with "file_name + copy"

Step 3: Set up and finish uploading files
After you've selected all the files you need, the last step is to set up some additional file properties:
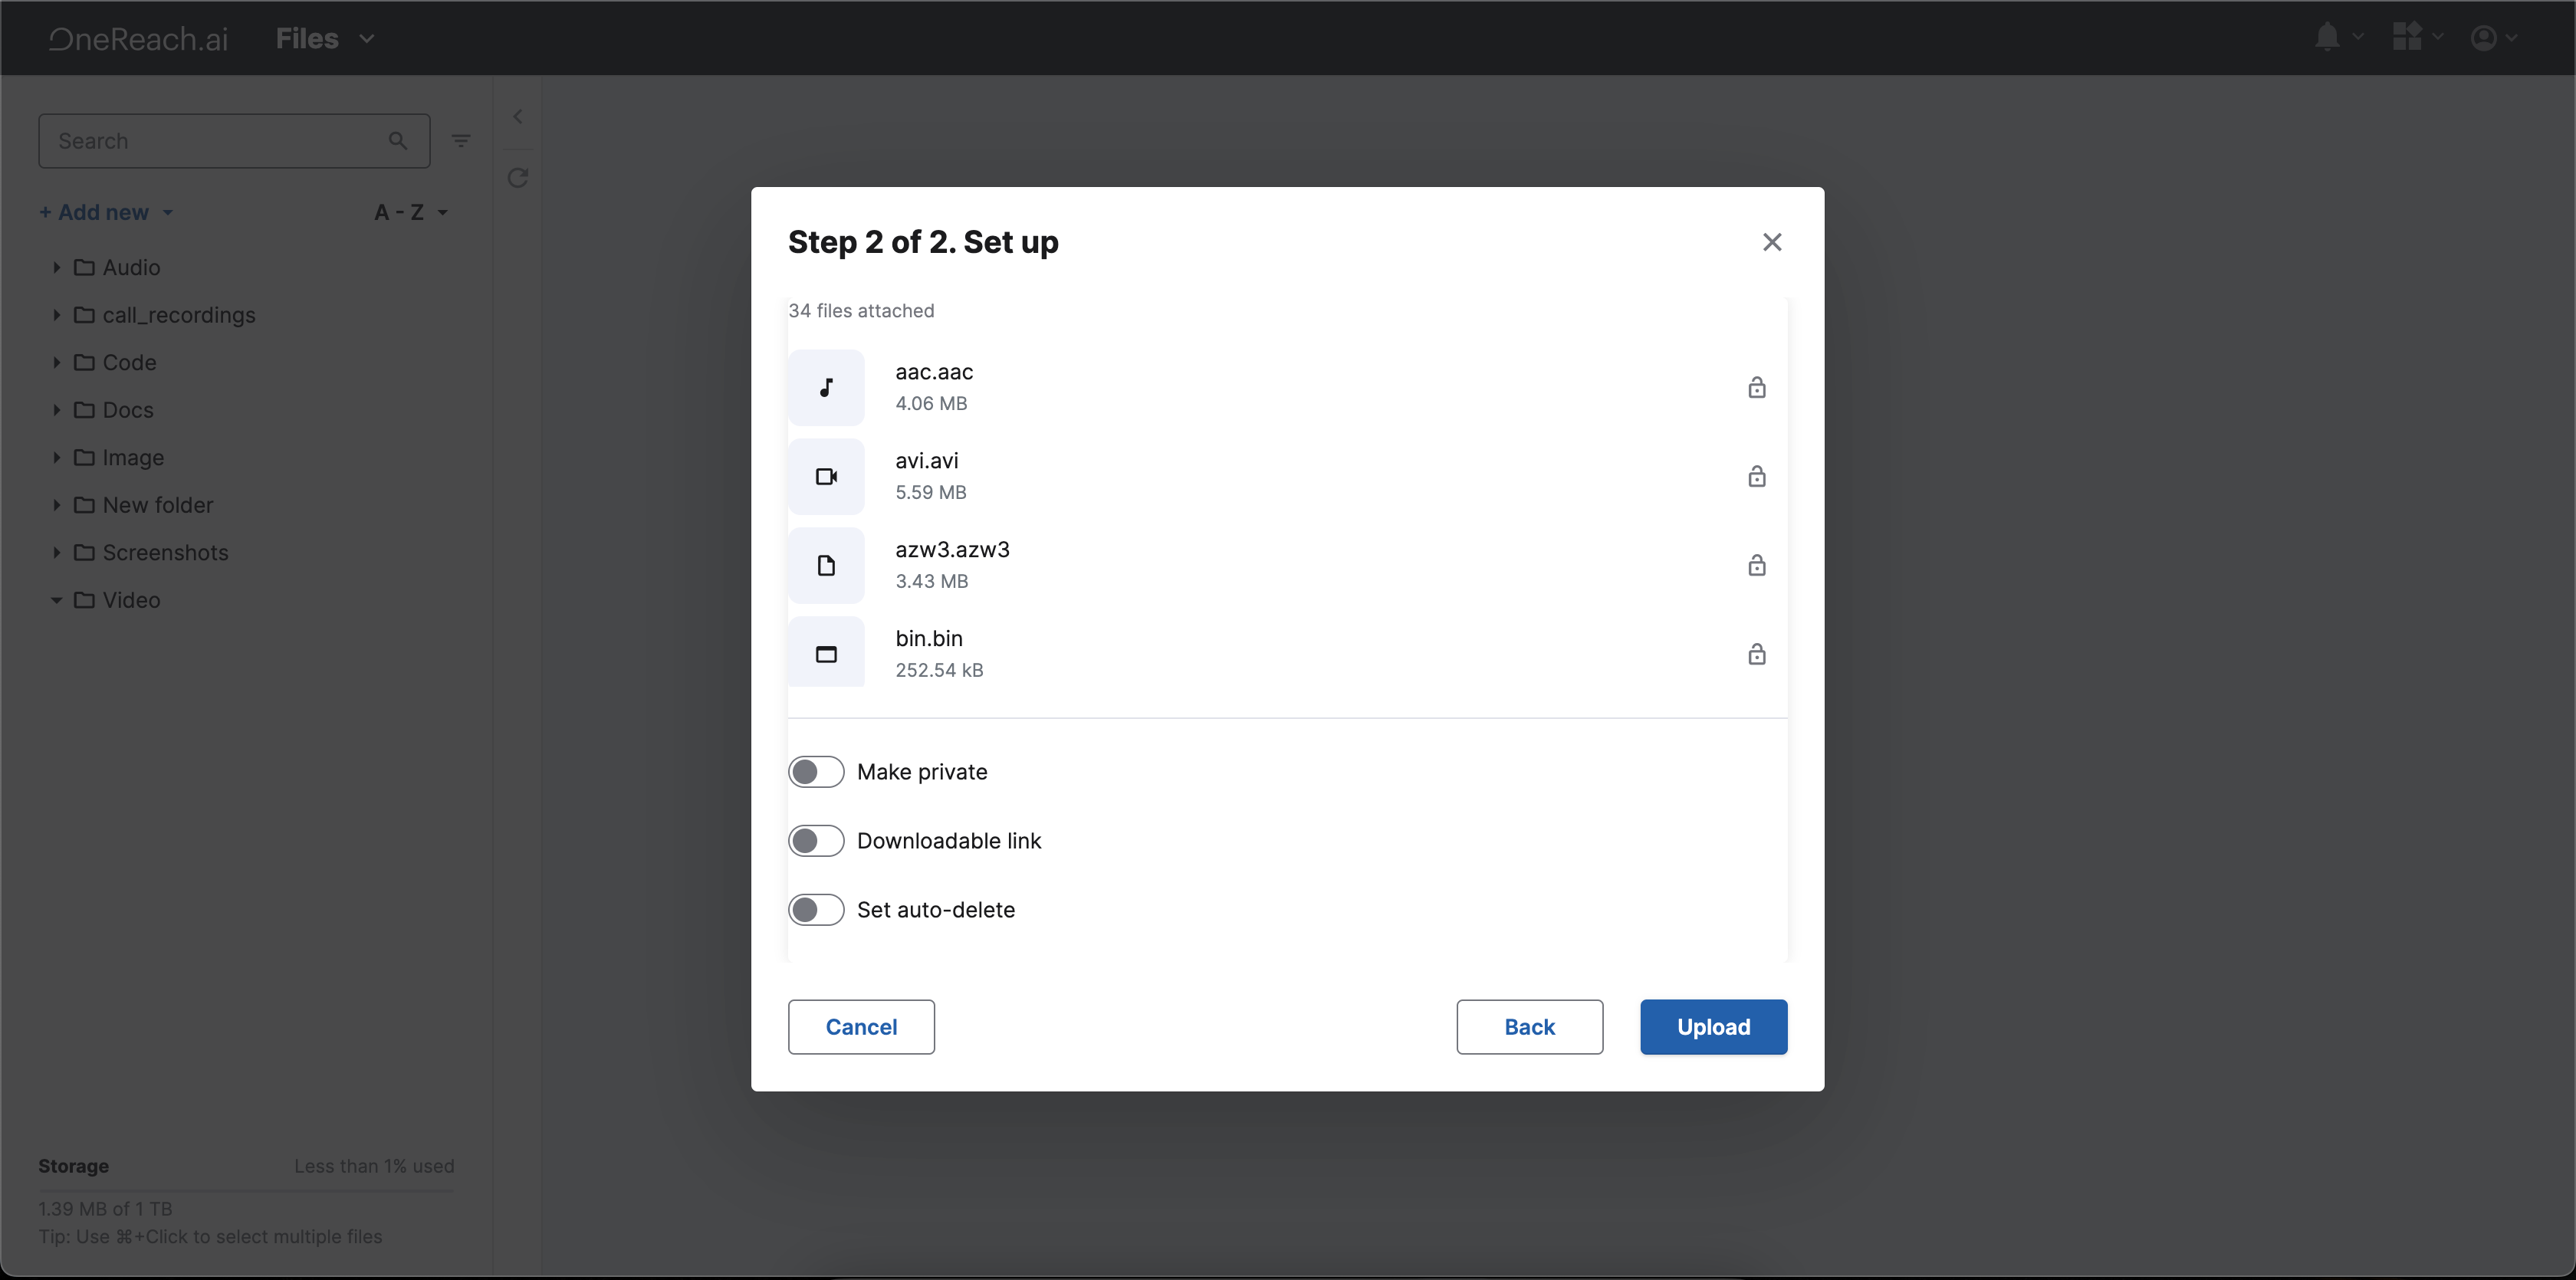
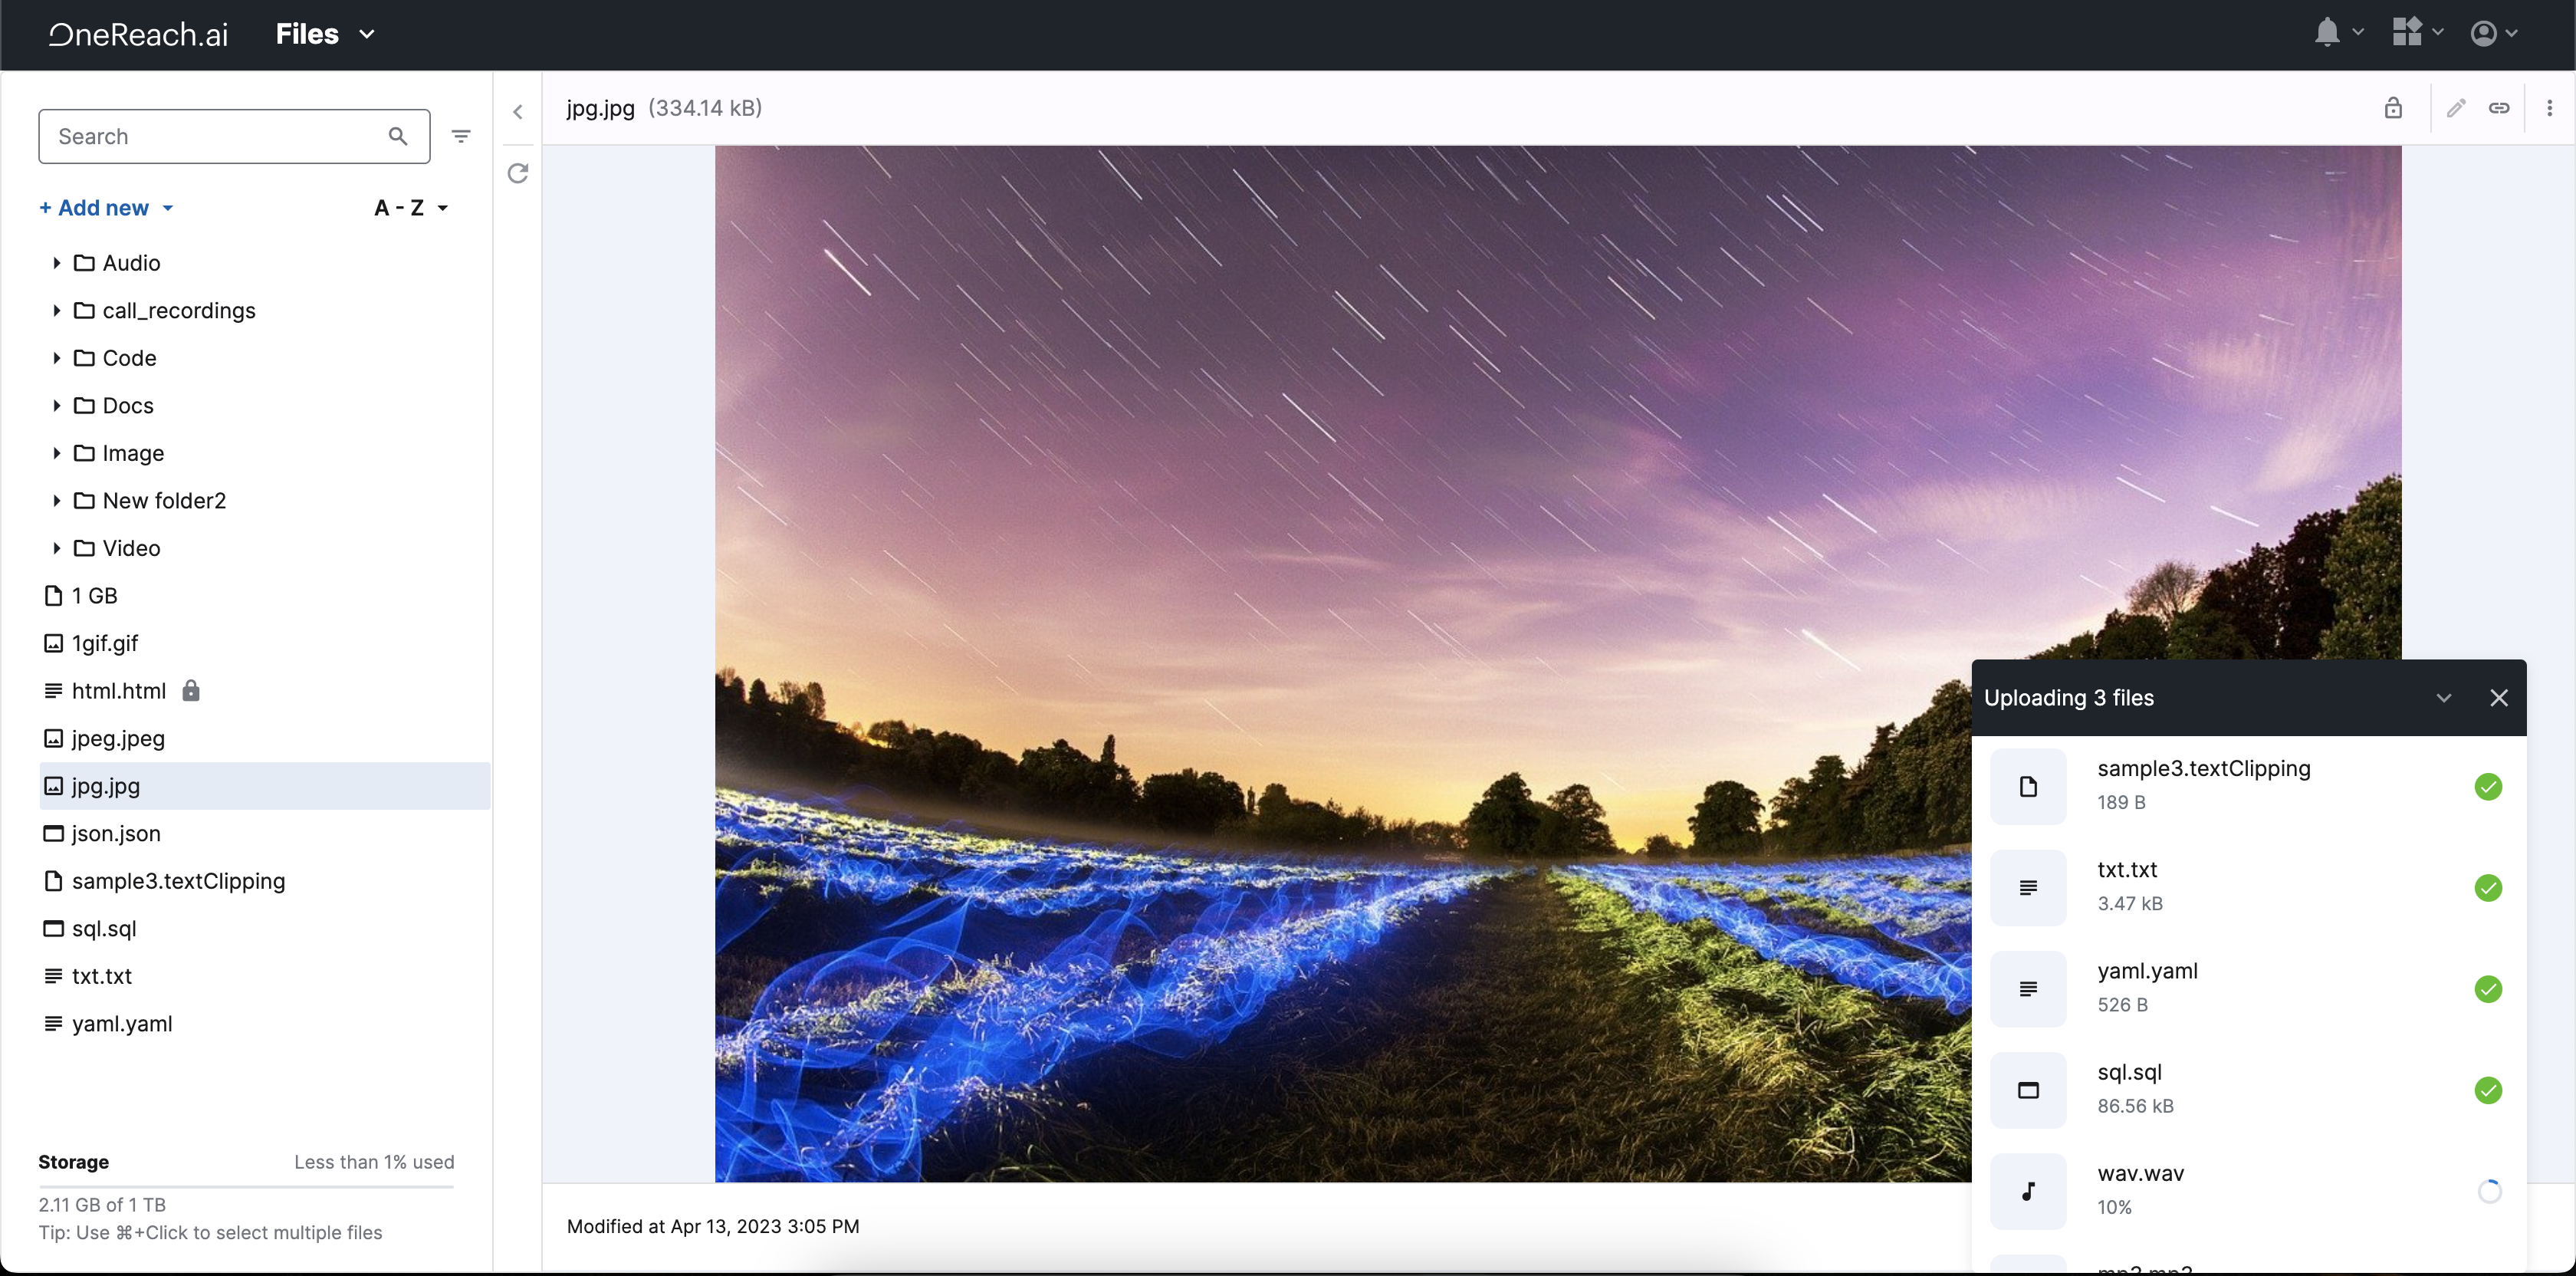
When you click Upload, the upload process begins. You can track the progress using the Upload Manager, which shows a list of your files and the upload progress for each.